
Objective
To understand how to group users using segments and audiences in Google Analytics 4 for deeper analysis, better insights, and enhanced targeting through ad platforms like Google Ads.
Overview
Grouping users allows you to isolate specific subsets of your traffic based on shared behaviours or attributes. Segments are primarily used within Explore for analytical purposes, while audiences are useful for both analytics and remarketing. These tools help you uncover insights about your most valuable users, identify opportunities for optimisation, and improve campaign targeting.
Step 1: Create a Segment in Explore
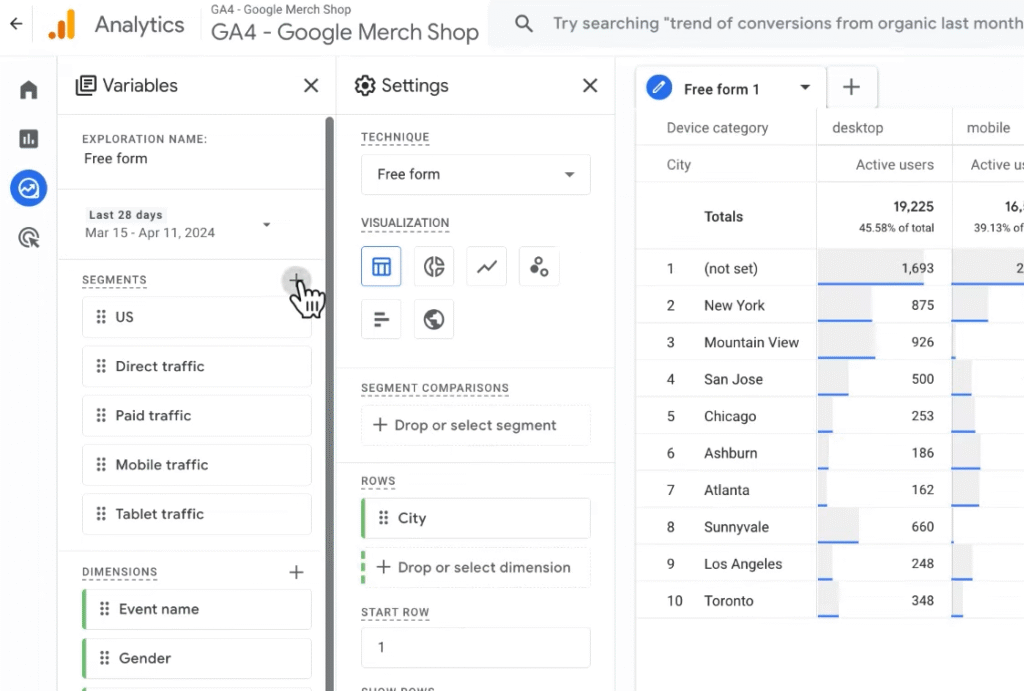
- In GA4, go to Explore.
- Create a new Free form report.
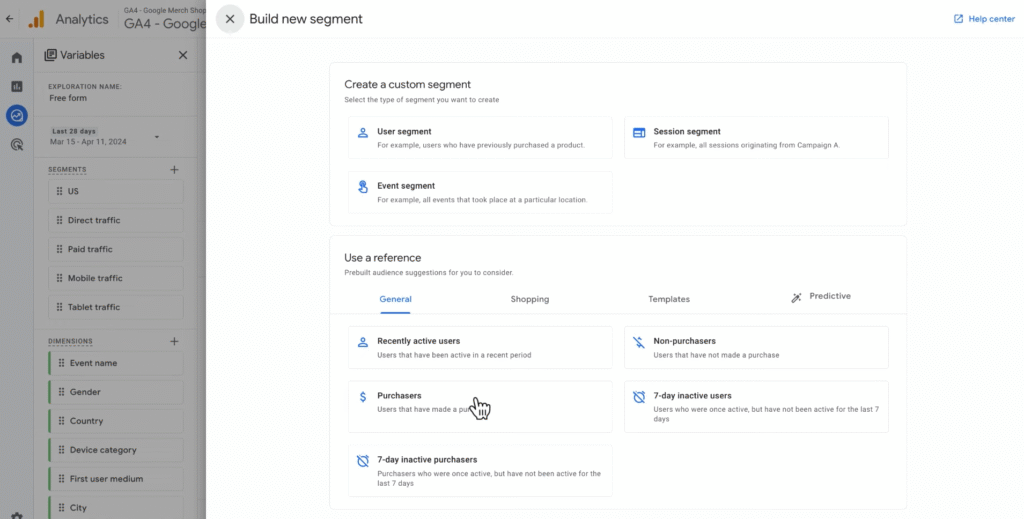
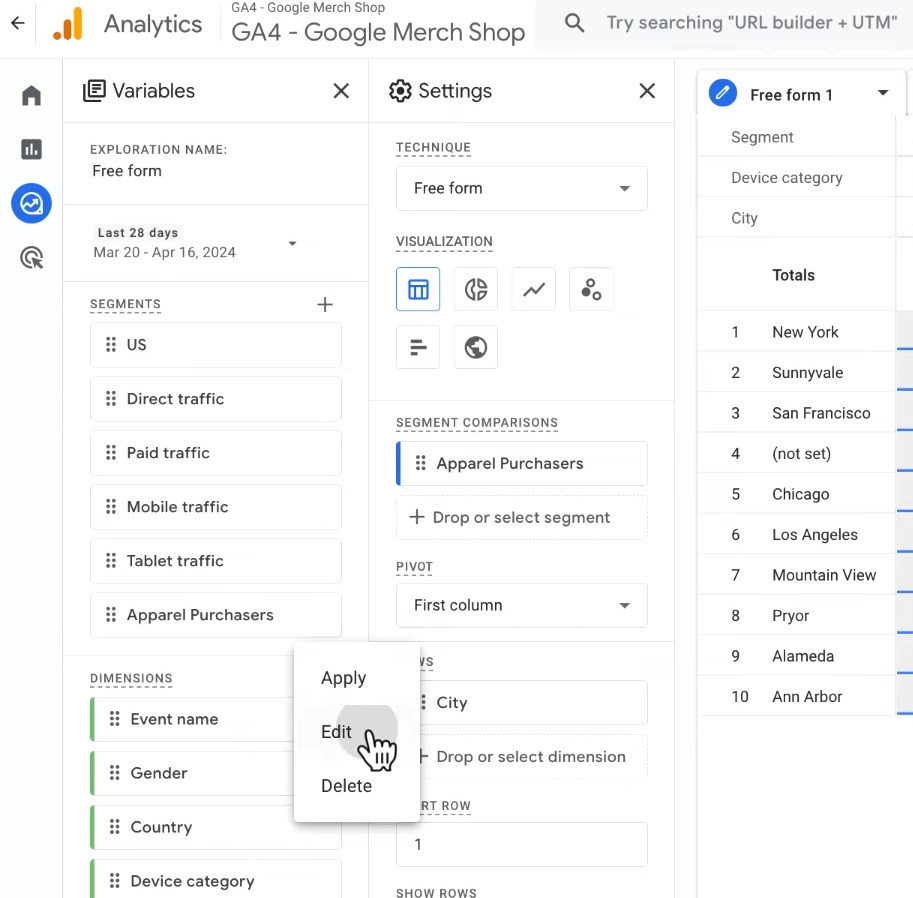
- In the Variables pane, click the “+” next to SEGMENTS.
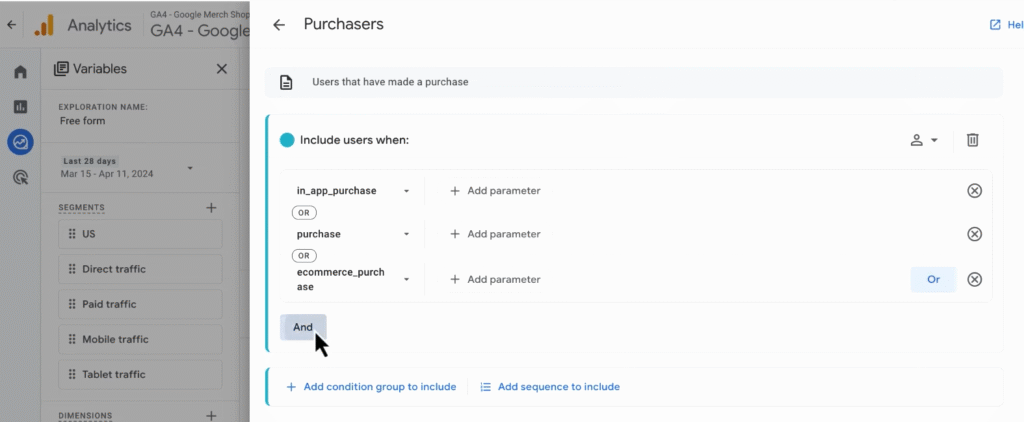
- For example, choose Purchasers from the General prebuilt suggestions.
- Click And, then add a condition:
- Select Item category
- Set the condition to contains apparel
- Time condition: At any point in time
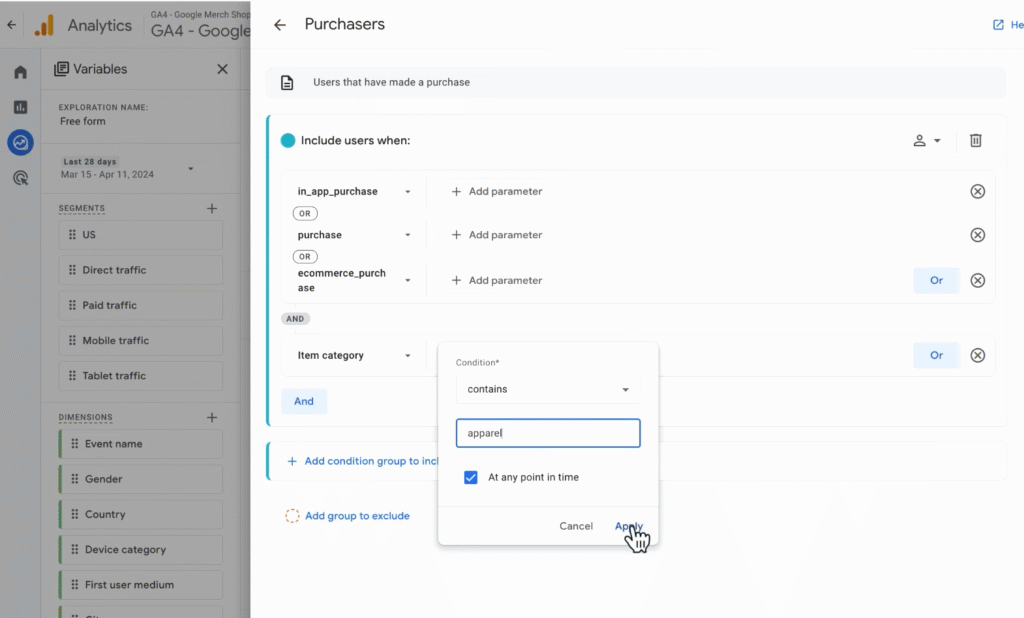
- Name your segment: Apparel Purchasers
- Click Save and apply.
You’ll now see the segment applied in the report — for example, viewing Device category by City only for users who purchased apparel.
Step 2: Use Segment Overlap for Insights
Segment overlap lets you compare up to three user segments simultaneously.
- Use this in Explore to identify intersections, e.g.:
- New Users
- Summer Promo Viewers
- Purchasers
- Example insight: If most purchases come from returning users who saw the summer promo, refine your targeting accordingly.
Step 3: Convert Segments into Audiences
You can promote any segment into a shareable audience:
- Hover over the segment name → click three dots → Edit
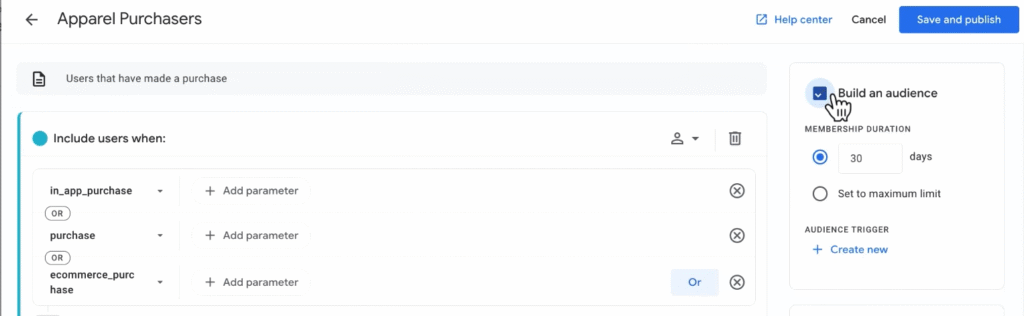
- Tick the box: Build an audience
- Set Membership duration (e.g. 30 days)
- Click Save and publish
Step 4: Create Audiences from Explore
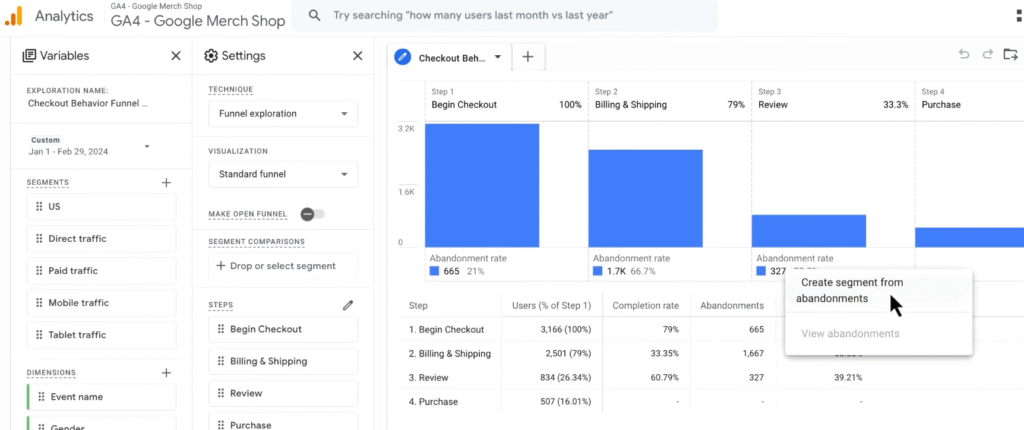
- Go to a funnel exploration, e.g., Checkout Behaviour Funnel
- Right-click on the abandonment rate under the Review step
- Select Create segment from abandonments
- Tick Build an audience, then set membership and click Save and publish
This creates an audience of users who abandoned their cart before completing a purchase.
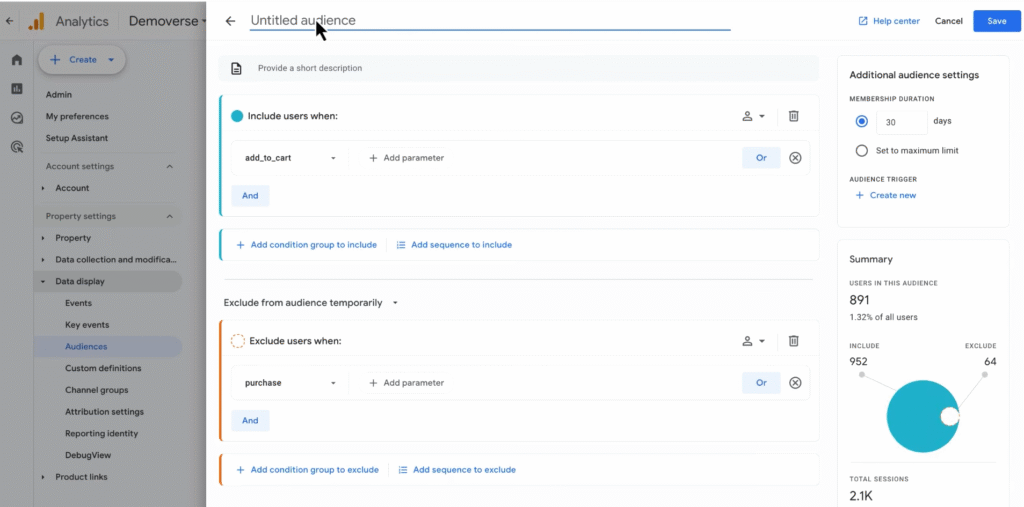
Step 5: Build Custom Audiences from Scratch
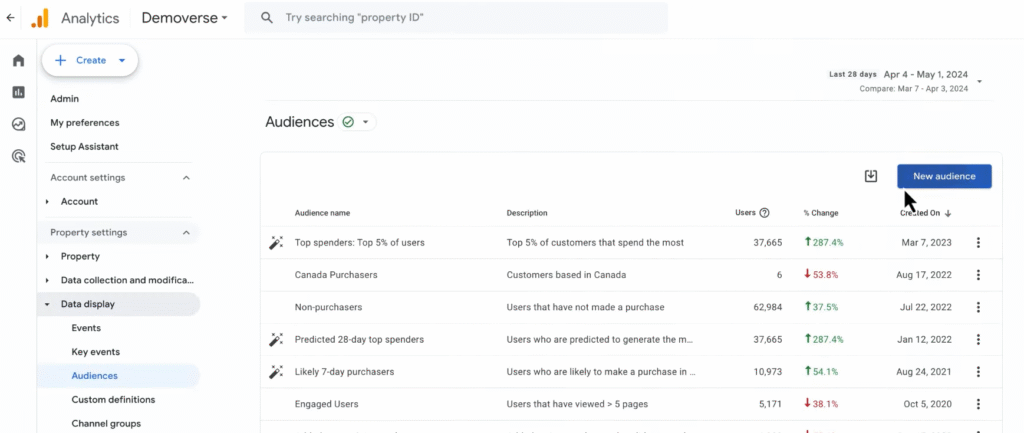
- Go to Admin → Data display → Audiences
- Click New Audience → Create a custom audience
- Set conditions, for example:
- Include: add_to_cart
- Exclude: purchase
- Name the audience: Cart Abandoners
- Description: Users who left items in their carts
- Review the setup and click Save
Step 6: Add Audience Triggers (Optional)
- While building an audience, on the right-side panel, locate Additional audience settings
- Under Audience trigger -> Click Create new
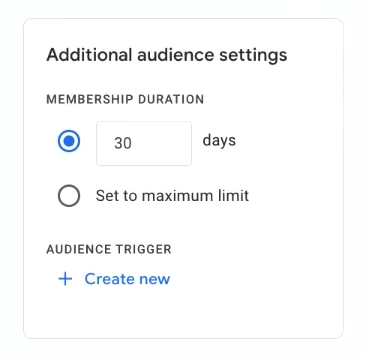
- Example: Fire event apparel_purchasers when a user joins the Apparel Purchasers audience
- This event can be used as a conversion or remarketing trigger in Google Ads
Step 7: Use Predictive Audiences (If Eligible)
If your property meets the data requirements, GA4 allows creation of predictive audiences such as:
- Users likely to purchase in the next 7 days
- Users likely to churn
- Predicted revenue generators
These are useful for ad optimisation, helping you allocate budget to high-intent segments.
Refer to GA4 documentation on Predictive Metrics prerequisites.
Step 8: Strategic Applications and Business Use Cases
Segments and audiences aren’t just for analysis — they’re tools for answering high-impact business questions:
- Who are my high-value users and what do they buy?
- Which users abandoned their carts and why?
- What landing pages drive $100+ purchases?
- How do paid search users behave differently?
- Are loyal customers churning due to price competition?
Use segments to explore, audiences to activate, and triggers to track — all within GA4.